Table of Contents
Screen printing is a popular technique for transferring designs onto various materials, such as fabric, paper, wood, metal, and more. Screen printing involves creating a stencil (also called a screen) of the design and then applying ink through the stencil onto the material. However, not all images are suitable for screen printing. If the image is rasterized, meaning it is composed of pixels, it may have jagged edges or low resolution that can affect the quality of the print. To avoid this problem, it is better to use vector images, which are made of smooth curves and shapes that can be scaled without losing quality.
At lampmediatouch, we are experts in graphic design and screen printing. We have helped many clients with their projects and delivered high-quality results. For example, one of our clients wanted to transfer a silhouette image from the internet onto a mesh for screen printing. However, the image was rasterized and had poor quality. We used Corel Draw Image Trace to convert the image into a vector object and printed it out from our digital printer. The client was happy with the outcome and came back for more images.
In this blog post, we will show you how to use Corel Draw Image Trace to prepare rasterized silhouette images for screen printing. This will enlighten graphic designers, clients, and anybody that comes across our blog.
What is a silhouette image?
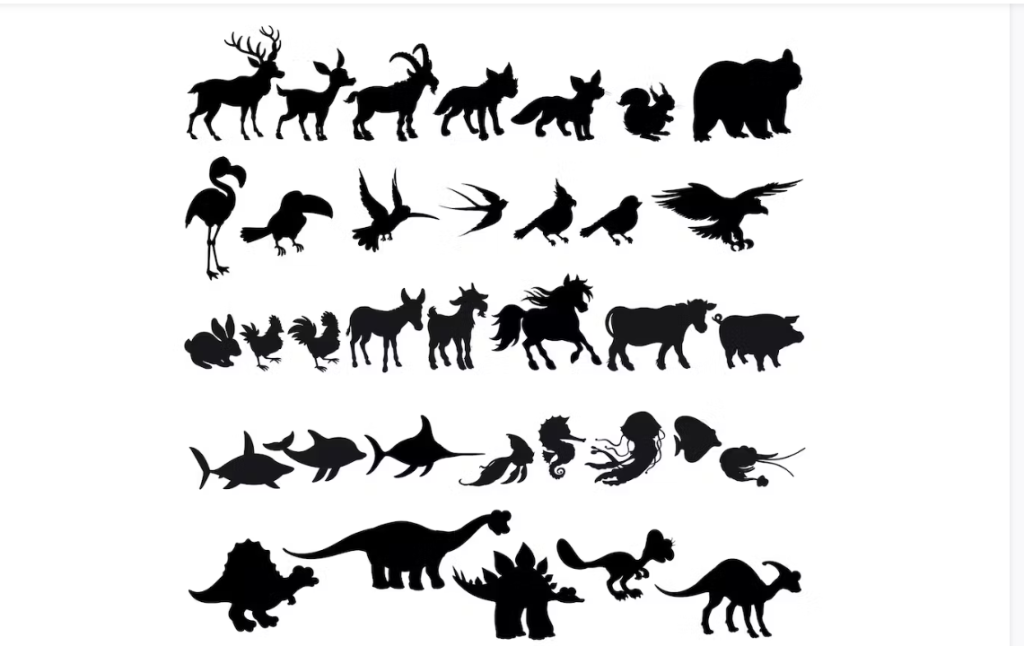
A silhouette image is an image that shows the shape of an object or a person in black against a white background. Silhouette images are often used for logos, icons, portraits, and other graphic design purposes. Here are some examples of silhouette images:
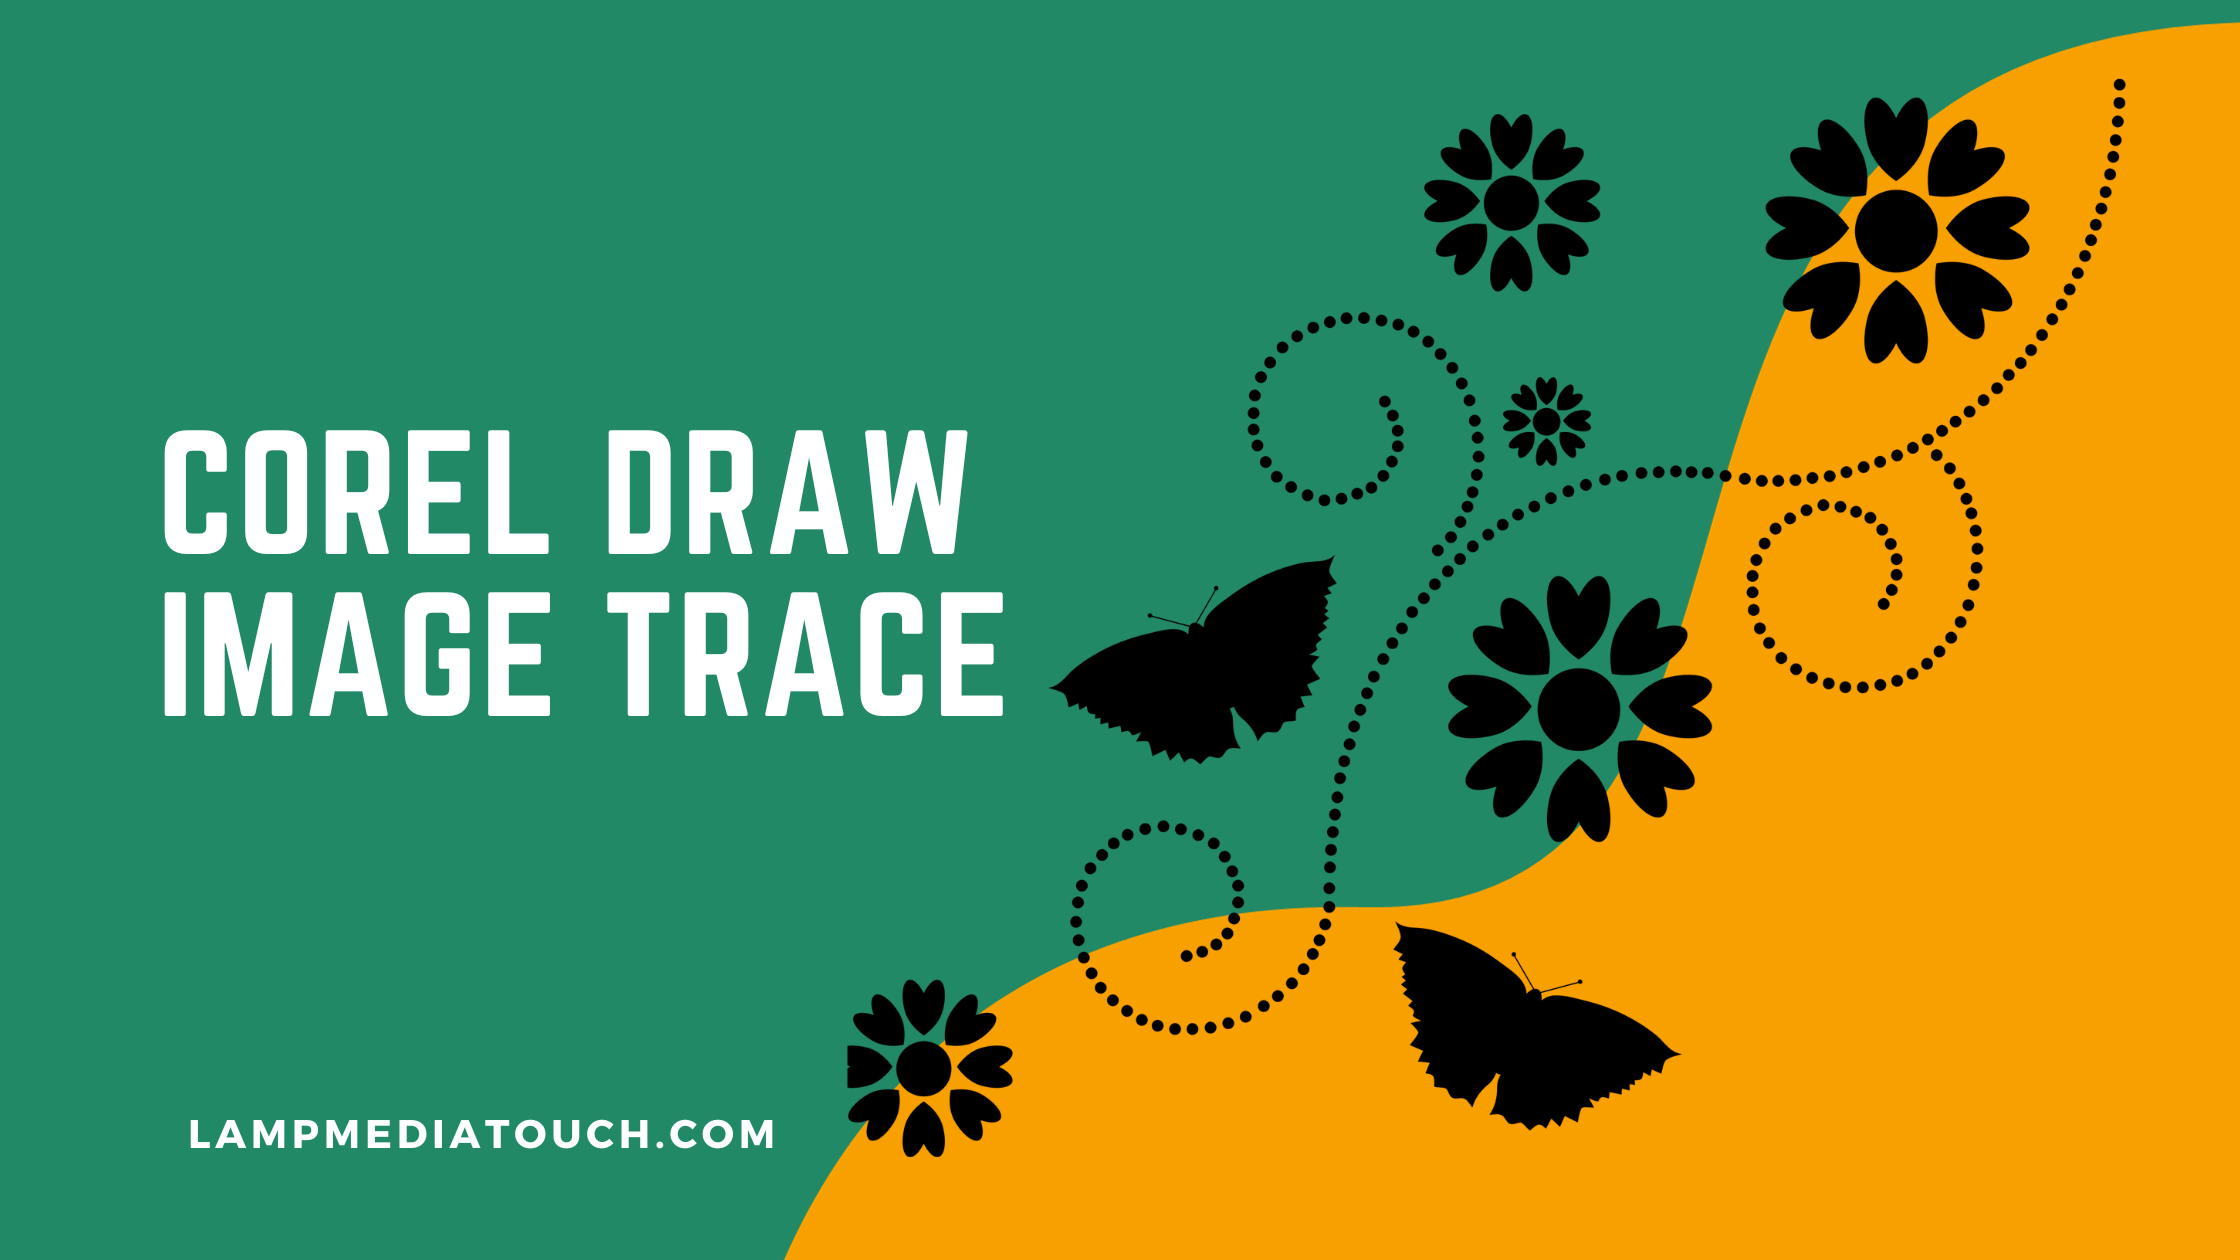
Why use Corel Draw Image Trace?
Corel Draw Image Trace is a powerful tool that can help you create vector objects from raster images in a few simple steps. You can choose from different presets and options to customize the result of the image trace. Some of the benefits of using Corel Draw Image Trace are:
- It can handle complex and detailed images with ease.
- It can preserve the original colors and gradients of the image.
- It can create smooth and sharp edges for the vector object.
- It can reduce the file size and improve the print quality of the image.
How to use Corel Draw Image Trace?
To use Corel Draw Image Trace, you need to have Corel Draw installed on your computer. You also need to have the raster image that you want to convert into a vector object. Here are the steps to follow:
- Open Corel Draw and create a new document.
- Import the raster image into the document by going to File > Import or by dragging and dropping the image file into the document.
- Select the raster image and go to Bitmaps > Outline Trace > Clipart. This will open the Image Trace window.
- In the Image Trace window, you can see a preview of the vector object on the right side and the settings on the left side. You can adjust the settings according to your needs and preferences. For example, you can change the detail level, smoothing level, corner smoothness, delete original image, etc.
- For silhouette images, we recommend choosing the Black and White preset from the drop-down menu at the top of the window. This will create a vector object that has only black and white colors.
- Once you are satisfied with the result, click OK to apply the image trace and close the window.
- You can now see the vector object in your document. You can edit it further by using the Shape tool or other tools in Corel Draw.
- To export the vector object as a file, go to File > Export and choose a suitable file format, such as EPS, PDF, SVG, etc.
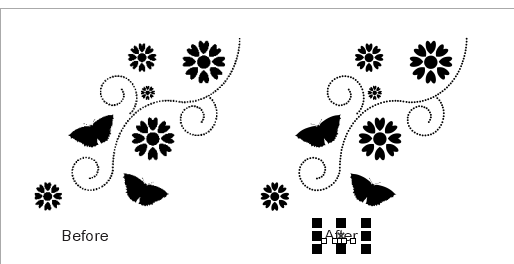
Here is an example of how we used Corel Draw Image Trace to convert a rasterized silhouette image into a vector object:
Conclusion
Corel Draw Image Trace is a useful feature that can help you prepare rasterized silhouette images for screen printing. By using this feature, you can create vector objects that have smooth and sharp edges, high resolution, and small file size. You can also customize the result of the image trace by adjusting the settings and options in the Image Trace window.
We hope this blog post has been helpful for you. If you have any questions or feedback, please feel free to contact us at lampmediatouch.com or leave a comment below.