Printing is an essential aspect of any design project, be it a business card, a brochure, or a billboard. With digital printing, you can bring your designs to life with a few clicks and deliver the prints to your doorstep. However, digital printing requires print-ready files to be submitted to the printing company, which can be challenging for some. This article will go through a step-by-step guide on creating print-ready files for digital printing, covering everything from the basics to best practices and FAQs.
Understanding Print-Ready Files
What are print-ready files, and why are they so important? Print-ready files are digital files optimized for printing, ensuring that the prints come out as intended. They are usually high resolution, with the correct color profile, file size, dimension, and file format.
Choosing the Right Resolution
For resolution, the higher, the better; most printers require at least 300 DPI (dots per inch) for high-quality printing. If you’re printing a poster or a billboard, you may need even higher resolution, such as 600 DPI. Here’s how you can set the correct resolution in Adobe Photoshop if you have already created a new file:
- Open your design file in Adobe Photoshop.
- Go to the “Image” menu and select “Image Size.”
- In the “Image Size” dialog box, check the resolution value under “Resolution.” Remember, the recommended resolution for digital printing is 300 DPI or higher.
- If the current resolution is less than 300 DPI, increase it by changing the value in the “Resolution” field to 300 DPI or higher.
- It’s important to select the “Constrain Proportions” checkbox to preserve the aspect ratio of your design.
- Once you’ve made the adjustments, click “OK” to apply the changes and close the dialog box.
- Finally, save the file in a format compatible with digital printing, such as PDF or TIFF.
By following these simple steps in Photoshop, you’ll have successfully adjusted the resolution of your design file. You will be well on creating a high-quality, print-ready file for digital printing. You can also do this easily on Adobe Illustrator and Adobe InDesign also
Selecting the Correct Color Profile
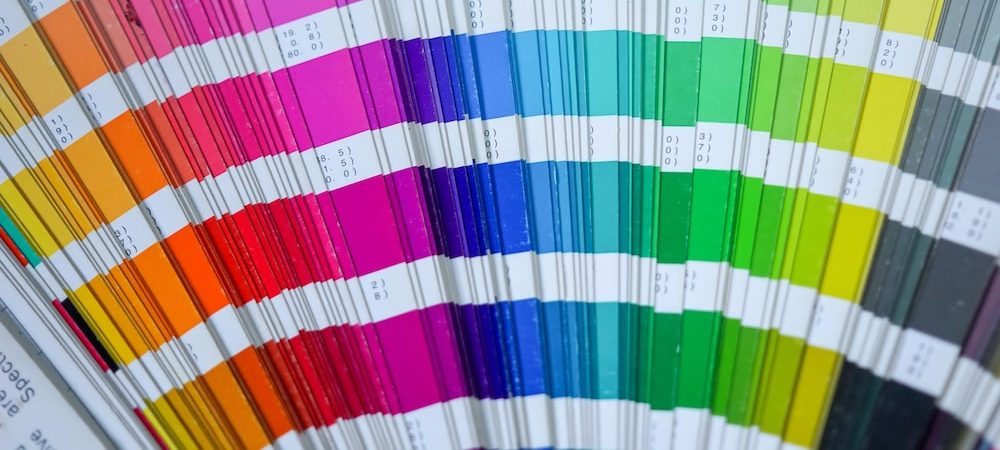
The color profile you choose is crucial, as it determines the outcome of your prints. Most printers use CMYK (Cyan, Magenta, Yellow, and Key/Black) color profiles, while others may use RGB (Red, Green, Blue) profiles. Check with your printer and select the appropriate color profile for your project.
Choosing the Right File Format
The most commonly used file format for print-ready files is PDF, but most printers also accept other formats such as TIFF, EPS, and JPEG. If you’re printing a design that includes a mix of text and images, PDF is a great choice. TIFF may be the better choice if your design includes large, high-resolution images. JPEG may be a good choice if you’re printing a design with many colors. It’s important to consider your specific needs and choose the file format that will best meet those needs.
PDF (Portable Document Format)
PDF is a versatile file format that’s commonly used for digital printing. It’s a great choice for designs that include a mix of text and images, and it’s also a popular choice for documents that need to be printed double-sided. PDF files are also easy to view and share, making them a good choice if you send your designs to clients or customers for review.
TIFF (Tagged Image File Format)
TIFF is a high-quality file format that’s ideal for digital printing. It’s a good choice of designs that include large, high-resolution images, as TIFF files can handle large image sizes without sacrificing quality. Choose TIFF files when working with a professional printer, as they are widely used in the graphic design and printing industries.
JPEG (Joint Photographic Experts Group)
JPEG is a popular file format for digital printing, but it’s often not the best choice for high-quality printing. JPEG files are best suited for images with many colors, as the file format uses lossy compression, which can cause some loss of detail and quality. JPEG files are also smaller, making them a good choice for email attachments or web-based designs that need to be uploaded quickly.
Best Practices for Creating Print-Ready Files
Here are some tips to keep in mind when creating your print-ready files:
Use high-quality images
Make sure your images are at least 300 dpi and saved in CMYK color mode. Using low-quality images will cause a pixelated and blurry design.
Keep text and images within the safe area: The safe area is the space within your design that is guaranteed not to be trimmed during the printing process. Keep important text and images within this area to avoid being cut off.
Use a bleed
A bleed is an extra 1/8 inch of space around your design that allows the printer to cut your material to the correct size. This will help to ensure that your design extends to the edge of your print material.
Avoid using transparent backgrounds
Add a color bar for color accuracy
Proofread your designs carefully before printing
Preparing Your Files for Print
Once your design is complete, it’s time to create a print-ready file. Follow these steps to ensure a smooth and successful print process:
Export your design in your desired format.
Before submitting your files to the printer, review and double-check all the elements to ensure everything is in order. Once you’re confident that your files are ready, you can send them to the printer.
FAQs:
Q: What is the difference between CMYK and RGB color profiles?
A: Use CMYK for printing and RGB for display on digital screens. Your choice of the color profile will impact the results of your prints.
Q: What is the minimum resolution for high-quality printing?
A: Most printers require a minimum of 300 DPI for high-quality printing.
Q: Can I use transparent backgrounds for my print-ready files?
A: No, Avoid using transparent backgrounds in print-ready files as they can cause undesired outcomes.
In conclusion, creating high-quality, print-ready files is key to successful digital printing. By understanding the importance of resolution, color profiles, and file formats and following best practices such as adding bleed and crop marks, avoiding transparent backgrounds, and proofreading, you can ensure that your prints come out just as you envisioned. With this step-by-step guide, you’ll have all the tools you need to create professional and stunning digital prints. So go ahead, unleash your creativity, and let your designs come to life!
If you’re looking for a reliable partner to help you bring your designs to life, look no further! Our team of experts at lampmedia production specializes in digital printing and can help you every step of the way, from design to print. Whether you’re a seasoned pro or just starting out, we offer a range of services to help you create high-quality, print-ready files with ease. Don’t settle for mediocre prints – take your designs to the next level with lampmediatouch Contact us today to learn more about how we can help bring your visions to life.